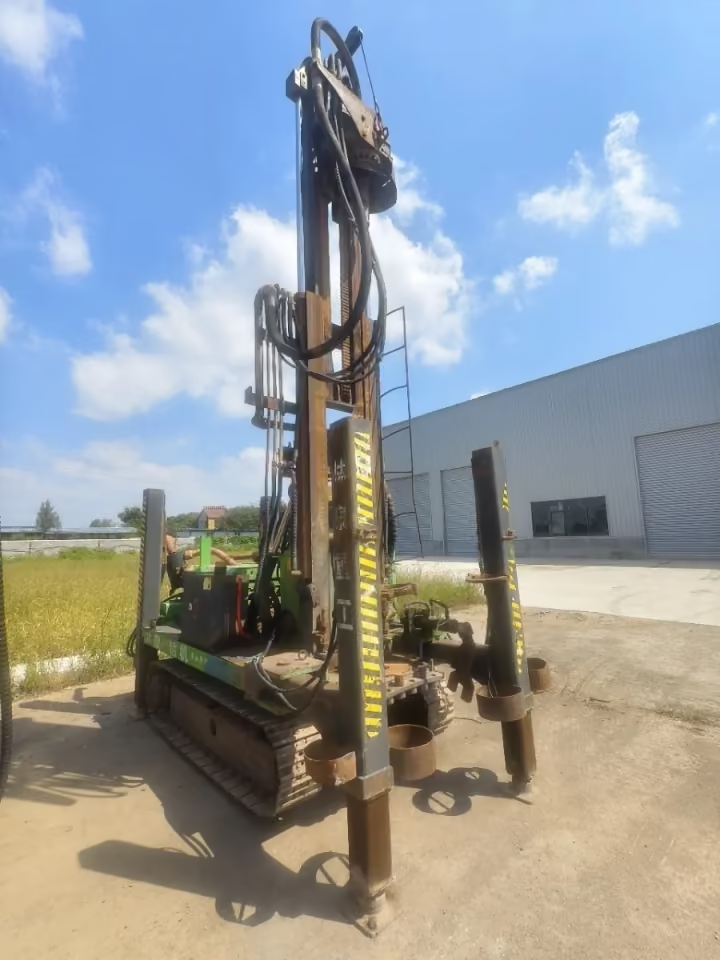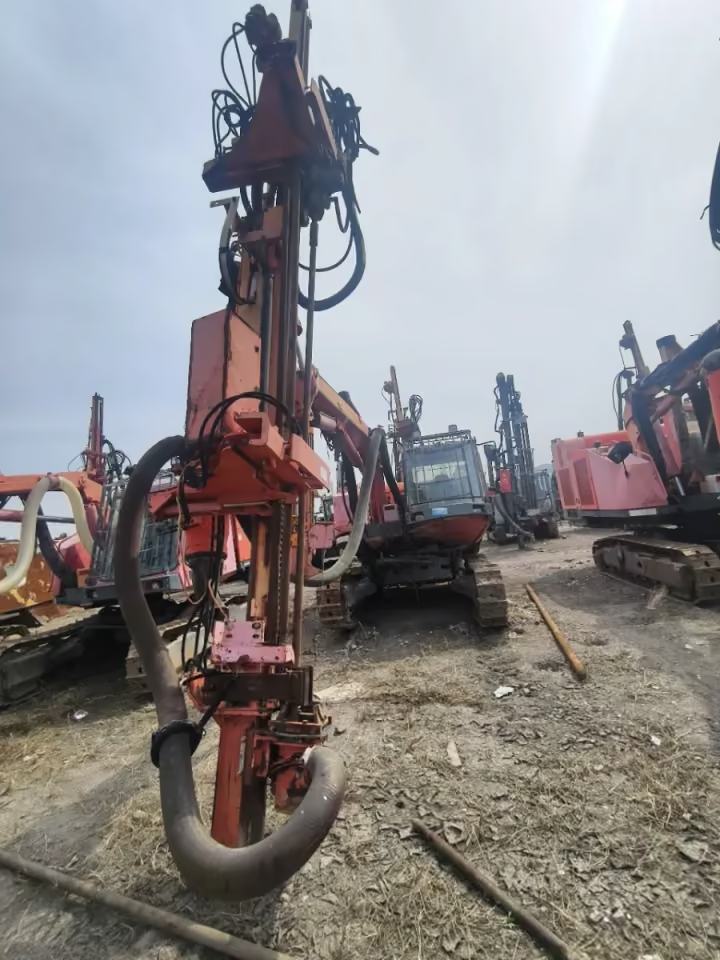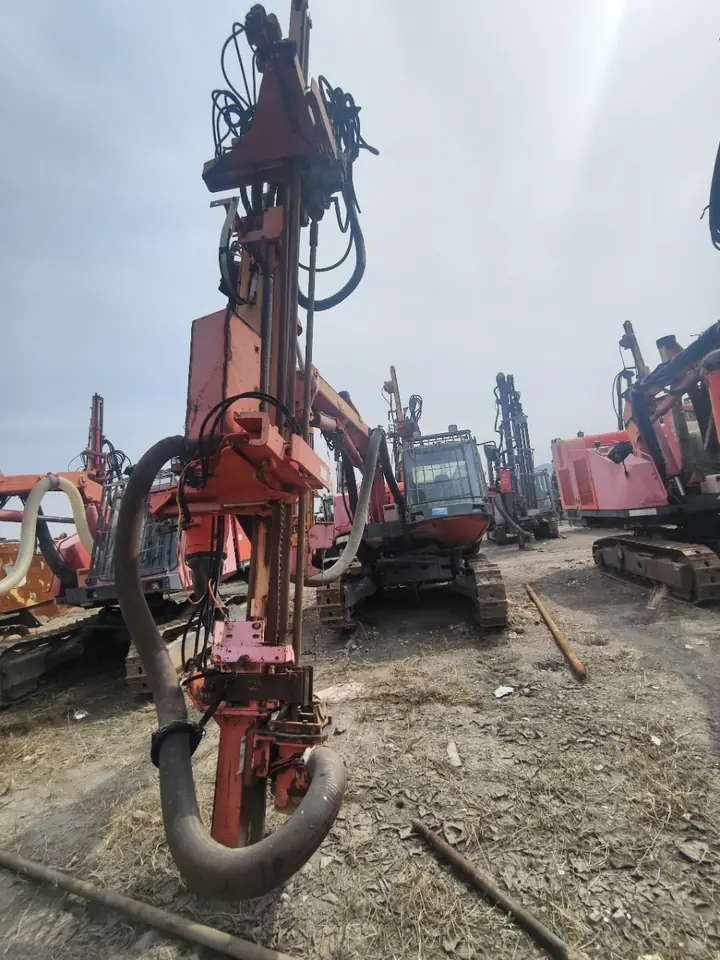
1. Identify the tool before discussing wear life
Record bit manufacturer, part number, diameter, connection, button or cutting arrangement and the drilling system. Different designs address different applications, and a similar outside diameter does not make two tools equivalent. Include the known ground conditions and the equipment settings required by the applicable instructions. We use that information to discuss a tooling package with the buyer. A universal metres-per-bit promise would hide too many project variables, so the useful comparison is a defined tool operating within a documented application and service process.
- Record the complete bit identity and intended application.
2. Use consistent wear observations
Ask the trained drilling or tooling team to record relevant wear features at planned intervals using the manufacturer's guidance. Photograph the same views with an appropriate scale and identify the bit in each record. Separate gradual wear from damaged or missing components and from connection problems. Consistent observations make a history useful; a single close-up without the tool identity or operating context may not. Keep records with the ground interval and work performed so a change in formation is considered before drawing conclusions about tool quality.
- Link each wear observation to the tool and its operating context.
3. Plan sharpening within the permitted method
Where the manufacturer specifies sharpening, use the appropriate equipment, profile and procedure with trained personnel. Timing and permissible wear depend on the tool, so avoid a generic rule applied to every button design. Ask about service equipment, consumables and access to a suitable local provider before ordering the operating stock. Sharpening is part of a tool-management process and cannot make every damaged bit reusable. Keep the specialist's service and discard decisions in the record rather than treating all used bits as recoverable stock.
- Confirm the permitted service process and local capability.
4. Review the drilling system when wear changes
If tool life or penetration changes, review the formation, operating records, flushing or air supply, alignment and the relevant rig functions with the drilling specialist. A worn bit may be one part of the explanation, not the only cause. Avoid changing several settings at once without a controlled assessment under the manufacturer's limits. We recommend keeping the observations in a shared log so equipment and tooling discussions use the same information. The aim is to identify the support or replacement requirement, not to diagnose a machine from a photograph alone.
- Review system and ground changes alongside the tool record.
5. Compare consumable cost on a consistent basis
For project planning, keep purchase price, sharpening cost, freight, availability and useful output in the comparison. Use your own operating records to calculate a cost per accepted drilled metre, with the same definition of output for each option. Include service downtime separately so it is visible rather than hidden in a headline bit price. If the project has no history, compare a documented trial plan and replenishment lead times. Do not present a trial on one formation as a guaranteed result for every future hole.
- Compare recorded tool cost and output using the same boundaries.
6. Quote the operating set and replenishment plan
Send us the rig stock ID, installed drilling system, bit references, hole dimensions, ground information and the parts you want included. Separate the starting set, spare tools and any sharpening or service equipment. We can organise a unit-specific package discussion and identify the technical information required for compatibility. Our drill-rod and hammer guides cover connections across the rest of the string. A clear replenishment plan helps you compare complete offers and arrange local support before the equipment arrives at the project.
- Request an itemised tooling and service-support package.
Topic decision table: Drill Bit Wear: Planning Sharpening, Replacement and Spare Quantities
| Topic checkpoint | Buyer action | Evidence-based explanation |
|---|---|---|
| 1. Identify the tool before discussing wear life | Record the complete bit identity and intended application. | Record bit manufacturer, part number, diameter, connection, button or cutting arrangement and the drilling system. |
| 2. Use consistent wear observations | Link each wear observation to the tool and its operating context. | Ask the trained drilling or tooling team to record relevant wear features at planned intervals using the manufacturer's guidance. |
| 3. Plan sharpening within the permitted method | Confirm the permitted service process and local capability. | Where the manufacturer specifies sharpening, use the appropriate equipment, profile and procedure with trained personnel. |
| 4. Review the drilling system when wear changes | Review system and ground changes alongside the tool record. | If tool life or penetration changes, review the formation, operating records, flushing or air supply, alignment and the relevant rig functions with the drilling specialist. |
Apply this guide to current inventory
Editorial details and evidence notes
How should the evidence be interpreted?
| Evidence type | What it can support | What it cannot prove |
|---|---|---|
| Official or manufacturer source | The cited family, standard or regulatory statement | The configuration or condition of a listed used unit |
| Published inventory record | Stock ID, supplied fields and linked listing photos | Current availability, hidden condition or included scope |
| Unit inspection evidence | Serial-specific observations within the agreed test scope | Performance outside the tested conditions |
Questions about using this guide
Does this guide prove that a listed machine has the feature or compliance discussed?
No. The guide explains a verification method. Confirm the exact stock ID, serial identity, installed configuration and destination rules before relying on it.
What should a buyer do before requesting a final quote?
Send the stock ID, project requirement, destination and requested inspection scope, then ask for current machine-specific evidence.